
Connor had to go to the doctor today to get a shot. He weighed 10 lbs 12 oz! He has gained 8 pounds in the past 17 weeks. I am so proud of my little boy. Here's a pic of his super cute outfit he wore today...
 |
| Isn't he adorable? :) |
Connor also had his first bite of baby oatmeal yesterday. He just spit it out, so we'll try again in a couple of weeks...

 |
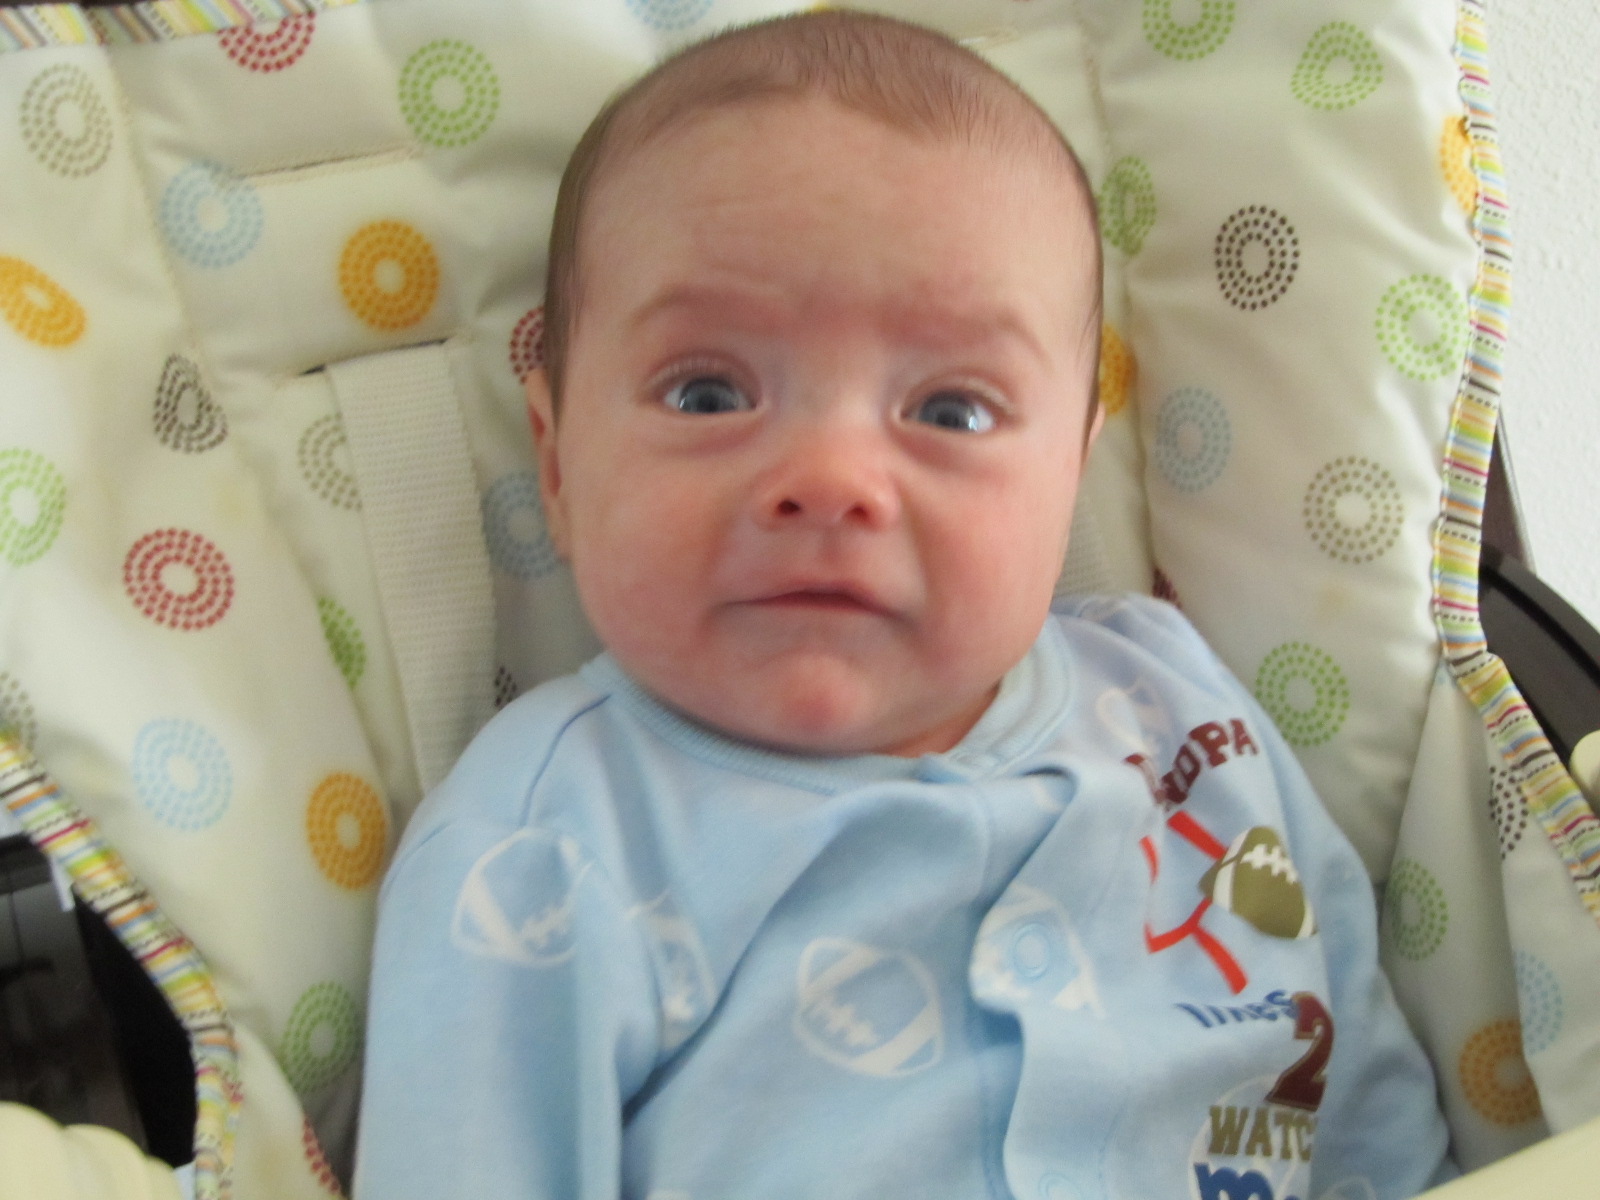
| I just have to show him off... |
 |
| Much better! |

After I made an appliqued initial onesie for Connor, my friend told me she wanted me to make shirts for her girls. Here's how to make your own!
You will need:
a shirt
fabric (it doesn't have to be a big piece)
coordinating thread
fusible webbing like Wonder Under
iron and ironing board
sewing machine and sewing notions
Okay, here goes...
Wash and dry your fabric and your shirt. Make sure you do this beforehand so the shirt doesn't shrink funny!
Find a design or font you like. Print and cut it out. I used Microsoft Office to do mine. (A Cricut or Silhouette would make this step super easy. Hint, hint Santa! ;)
 |
| This is the letter I'm using. It was 300 pt font. |

Iron your fusible webbing to the wrong side (the back) of your fabric per the package directions. I had my iron on the wool setting and held the iron on the applique for about 10 seconds. Don't move your iron around like you are trying to get creases out, hold it in place, pick it up, and move it to another place. Also, make sure your webbing is fused well. If it isn't, the webbing may not sick to the fabric when you pull the paper backing away.


Cut your design out.

Remove the paper backing from the applique, making sure the webbing doesn't come off too. Place the applique on your shirt. Center it the best you can.

Lay a damp washcloth on top of the applique. With the iron on the wool setting, hold the iron on the applique for about 15 seconds, then pick it up, and move it to another section of the applique. Repeat this until the applique is fused to the shirt.
Now, there are several things you can do from this point out:
1. Leave the shirt as it is. The applique is fused to the shirt, and it can be worn. The fusible webbing is supposed to be permanent, but it may still come off unless you sewn it on.
2. Hand sew a blanket stitch around the outside.
3. Hand sew a whip stitch around the outside.
4. Machine sew a satin stitch around the outside. You can use a very small zig zag stitch if your machine doesn't have a satin stitch. That's what I have to do.
5. Machine sew a running stitch around the outside. When you do this, over time, the edges of the applique will fray, making it look really cute. :)
I'm going to do a running stitch, because I want the edges to fray on this shirt.


Try to keep an even border. It's okay if it's a little messy, because you won't see it as much once the edges fray. Plus, it adds character. ;) Make sure to go slow when you're doing this, it makes it easier. There were some spots I did a stitch at a time. I have heard that using a clear sewing machine foot makes this easier, but I don't have one.

Now go show off your new shirt! (Make sure to tell everyone you did it yourself) ;)